
You can set your computer to launch any application you want at startup so you can skip having to manually click open everything such as your web browser, EHR, VPN, MS Word, etc. Follow the steps below to save time by launching applications automatically.
How to auto-launch applications on startup in Windows 10.
1. Click the start button.
![]()
2. Click Settings.
3. Click Apps.
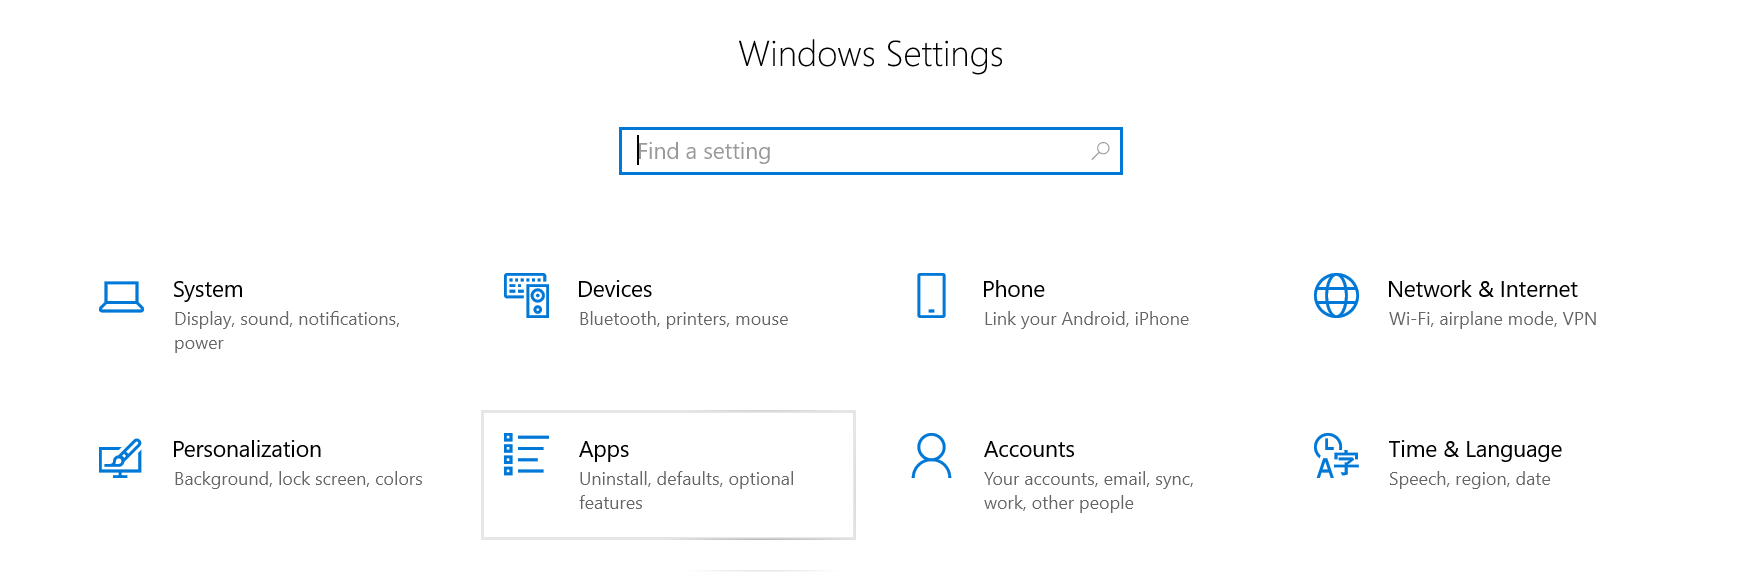
4. Click Startup.
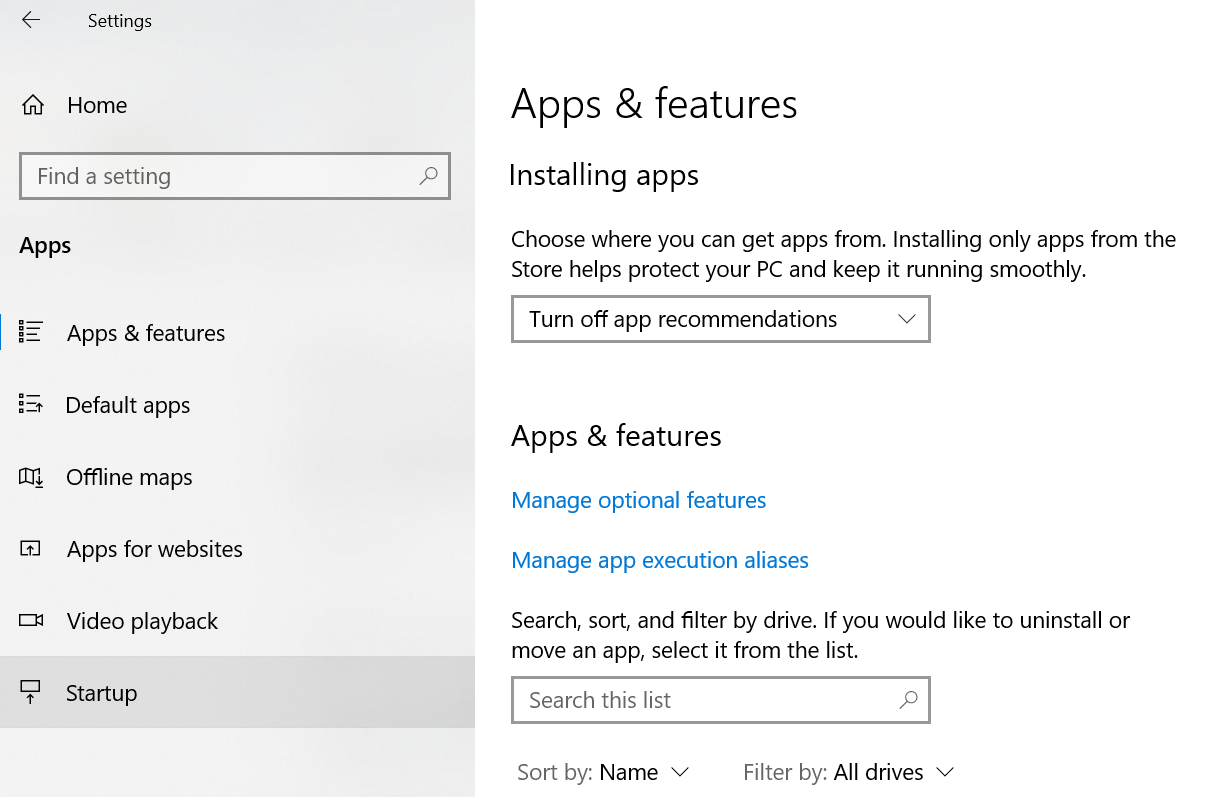
5. Ensure that the application you would like to auto-launch on startup is toggled ON.
![]()
6. If you do not see your app, click the start button (Windows icon) and search for the application you would like to set for auto-launch.
![]()
7. Right-click the application and click "Open file location".
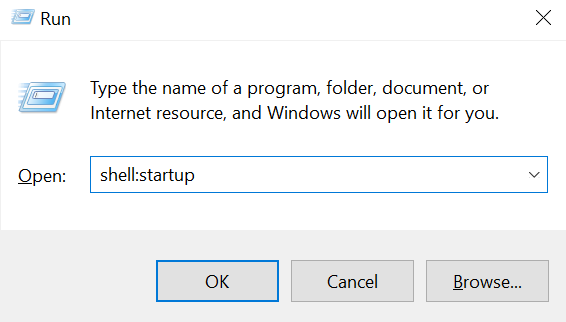
8. With the file location open, press the Windows logo key + R.
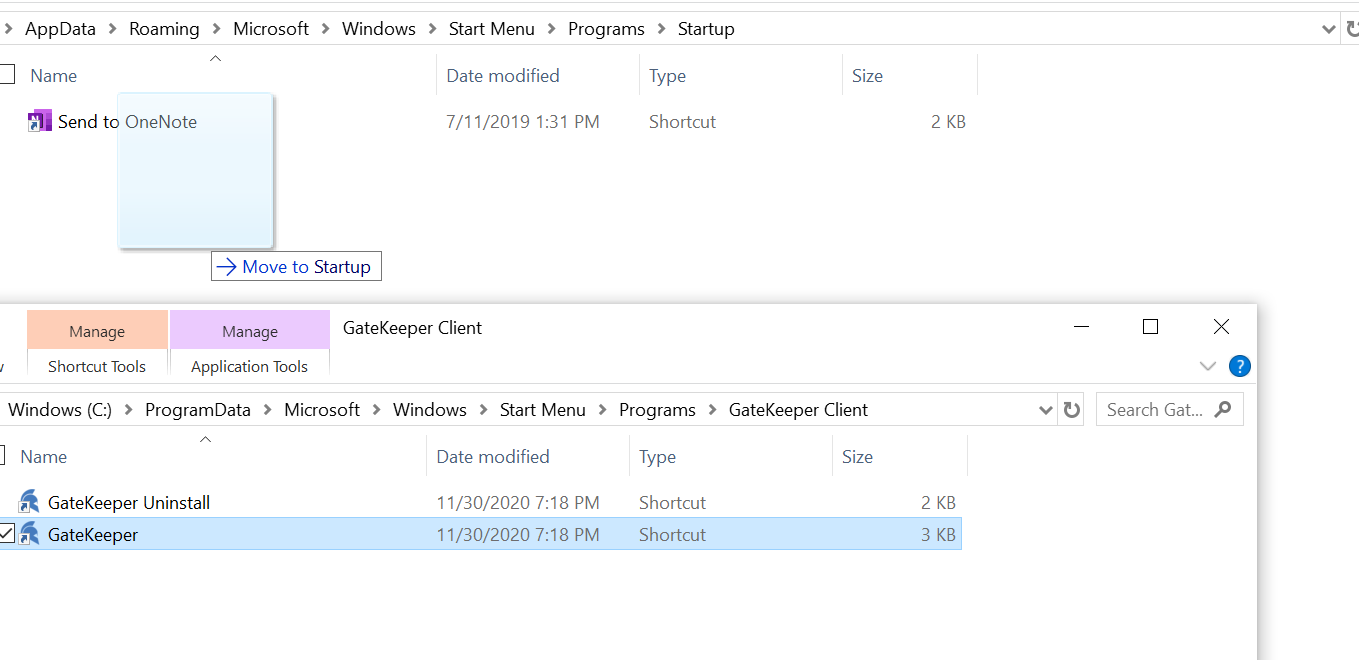
9. Type shell:startup, then select OK. The Startup folder will open.
10. Copy and paste the shortcut to the application you want to launch from the file location into the Startup folder.
Done! Now your application that you placed into the Startup folder will automatically launch when your computer starts up.
If you would like to also launch particular websites at startup, please repeat the above directions for your Chrome web browser and then follow the directions in the link below to complete the process. Then, all your required applications and websites will be open and waiting for you at login. Users no longer need to open applications, websites, and type usernames and passwords.
How to automatically launch websites at startup in Chrome.

For any additional questions or concerns regarding security, proximity settings, computer locking, credential management, or compliance, please contact GateKeeper Enterprise support using the Support Ticket form on https://gkaccess.com/support/ or email support@gkaccess.com.

--------------------------
GateKeeper software applications; what programs work with GateKeeper?; which programs work on GateKeeper?; new applications to add; autostarting applications; auto-start apps;
Comments
0 comments
Please sign in to leave a comment.