
This guide walks you through the process of setting up Single Sign-On (SSO) for your GateKeeper Hub application. Follow these steps to correctly generate certificates, configure identity provider settings, and finalize your integration for seamless authentication.
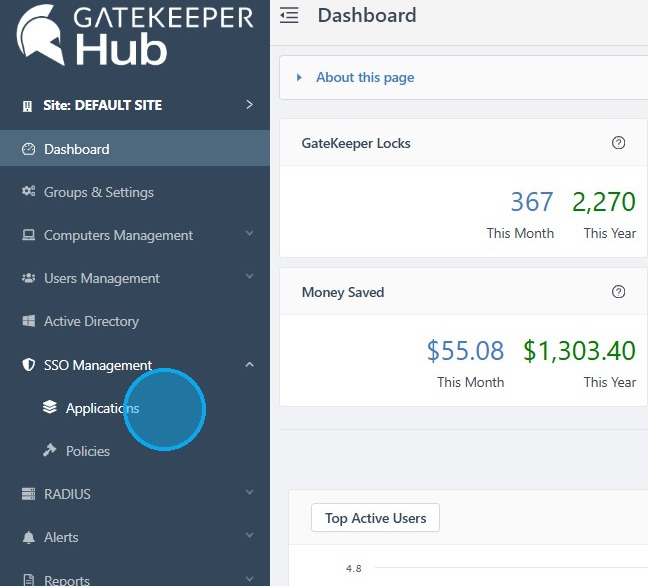
1. Log in to your GateKeeper Hub, click SSO Management, and click Applications.
2. Click '+ Add Application'.

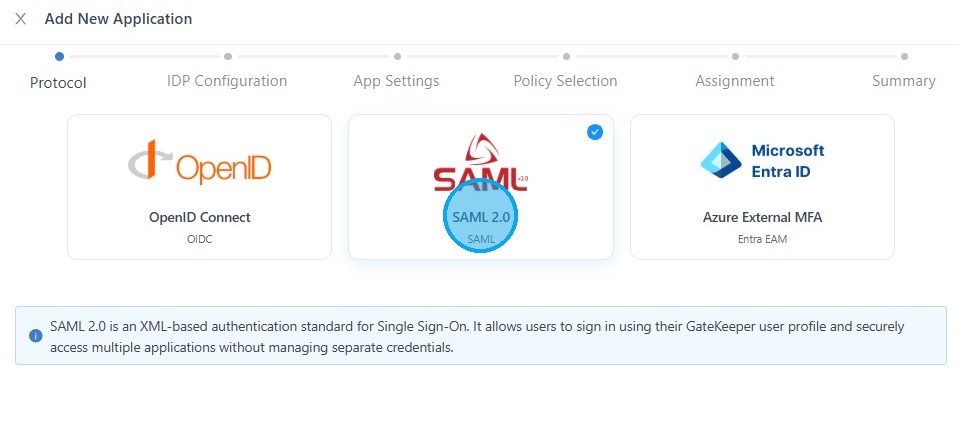
3. Select "SAML 2.0", then click "Next".
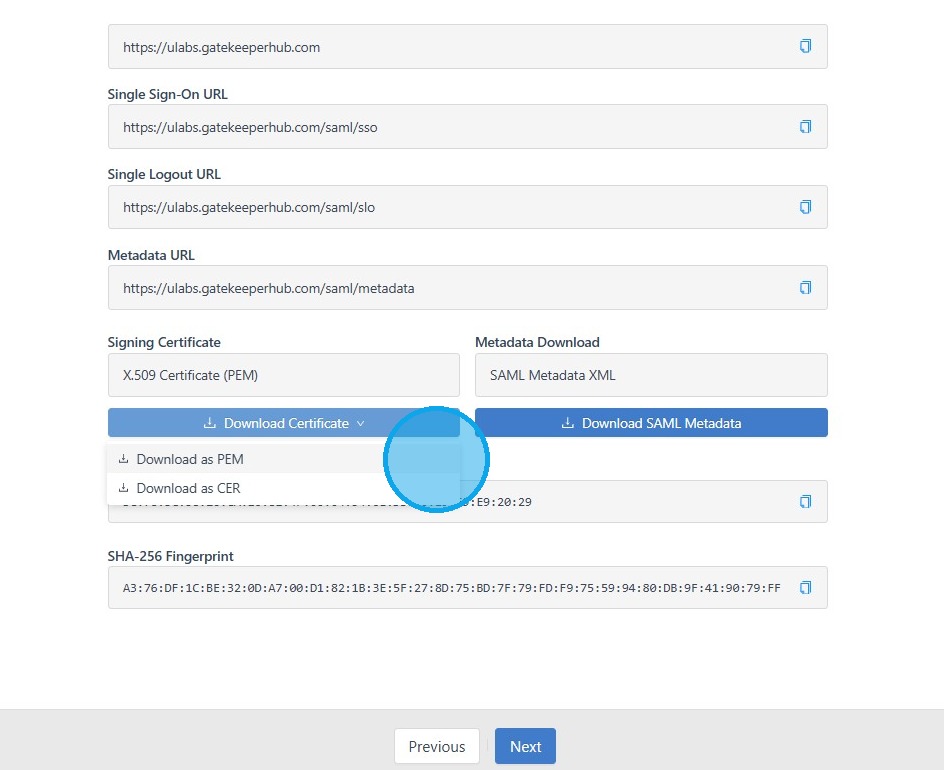
4. Click the Download Certificate button under X.509 Certificate. Select 'Download as PEM', then click "Next".
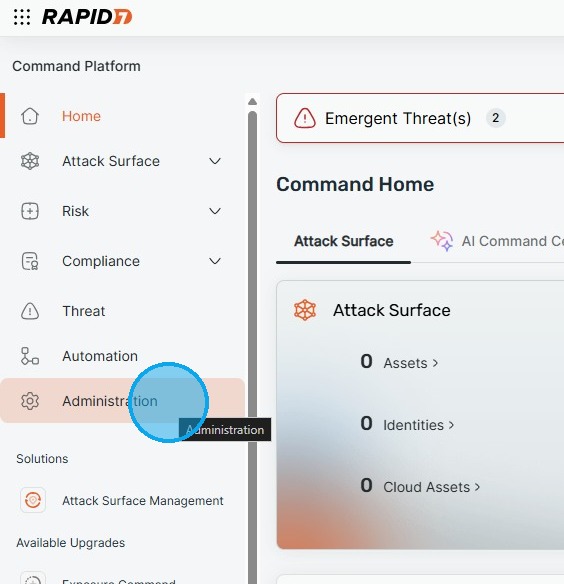
5. Log in to the Rapid 7 Command Platform. Click 'Administration' on the left menu.
6. Navigate to "SSO Settings".
Click "Set up SSO".

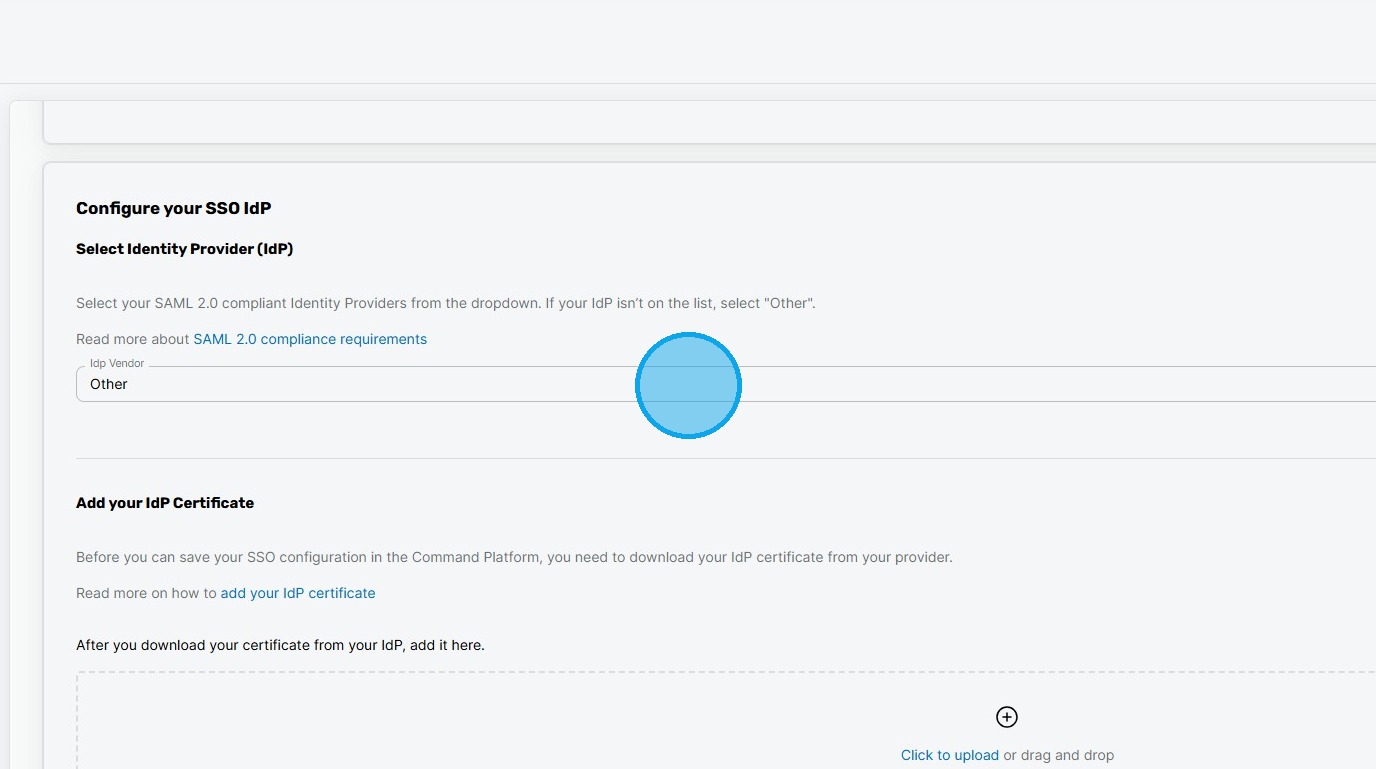
7. Select 'Other' as the Identity Provider (IdP) vendor.
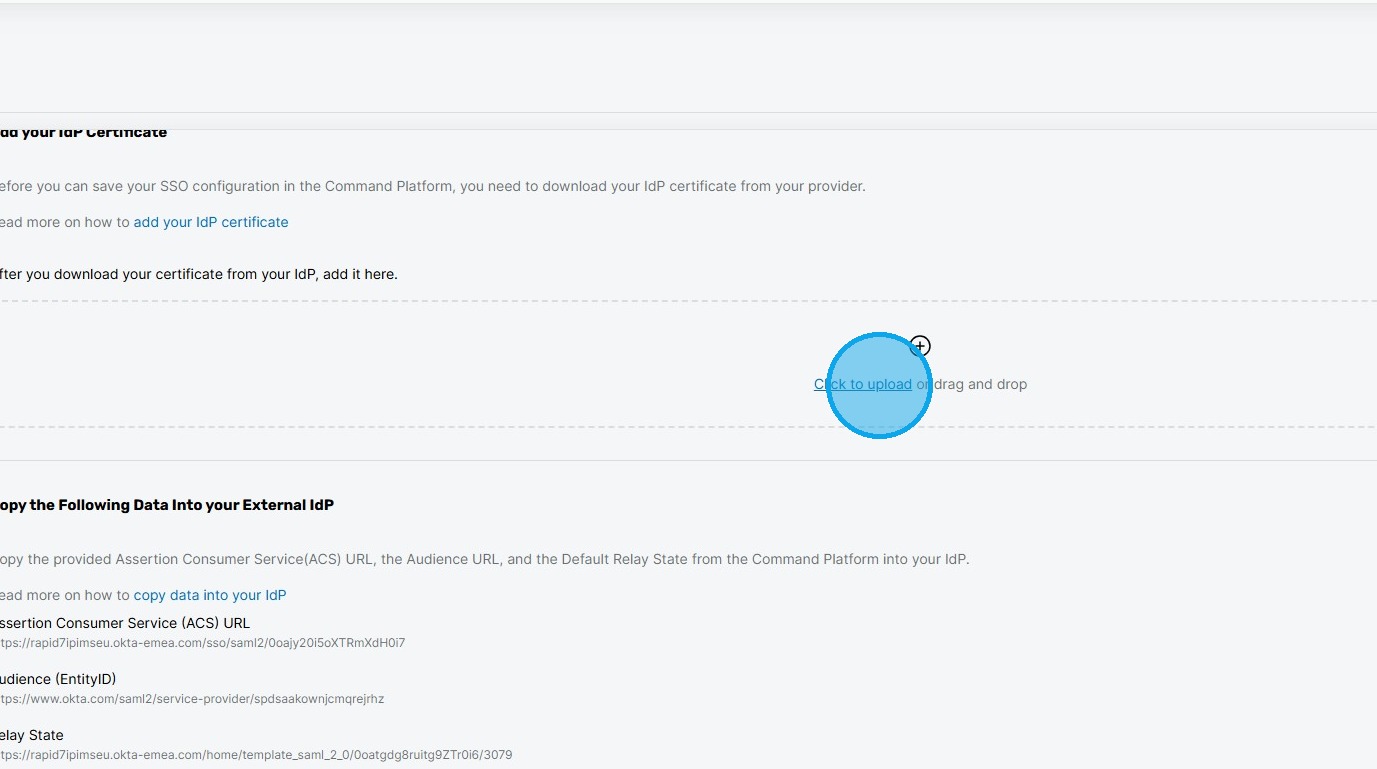
8. Click the upload area to add your certificate.
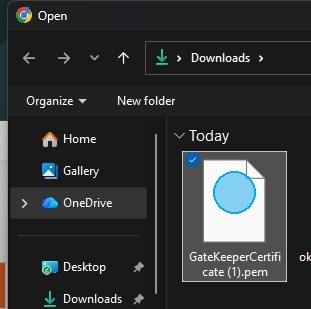
9. Select and upload the downloaded PEM certificate
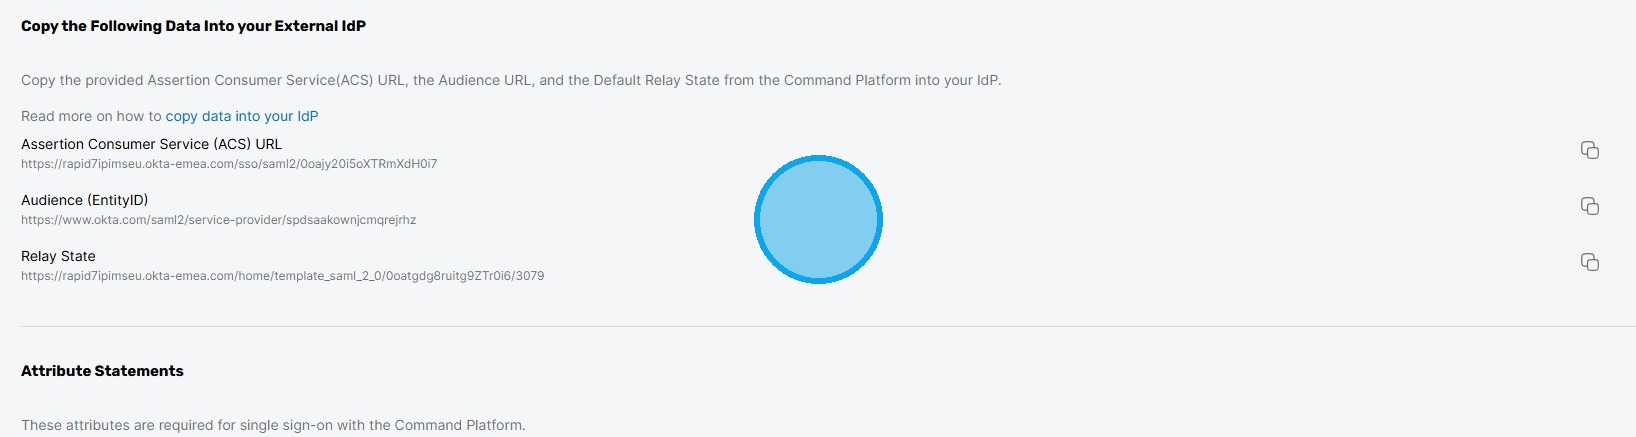
10. Now, copy the Assertion Consumer Service (ACS) URL and Audience (Entity ID).
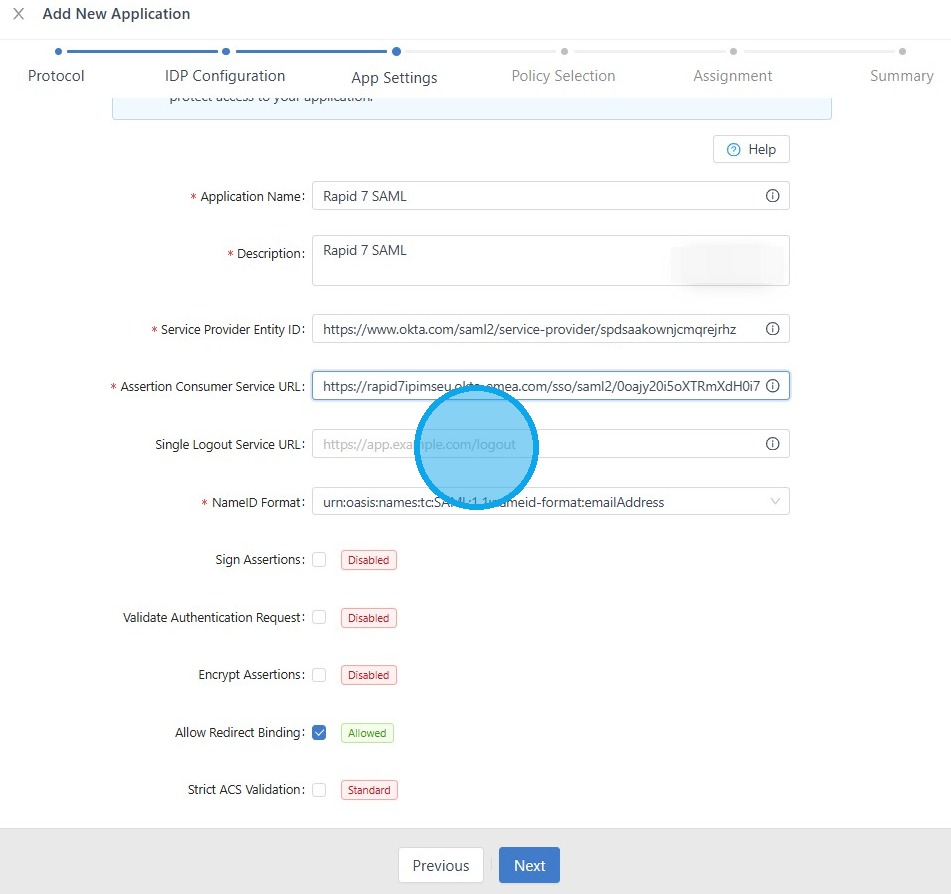
11. Go back to the GateKeeper Hub and fill out all the information.
- Application Name
- Description
- Service Provider Entity ID
- Assertion Consumer Service URL
Click Next.
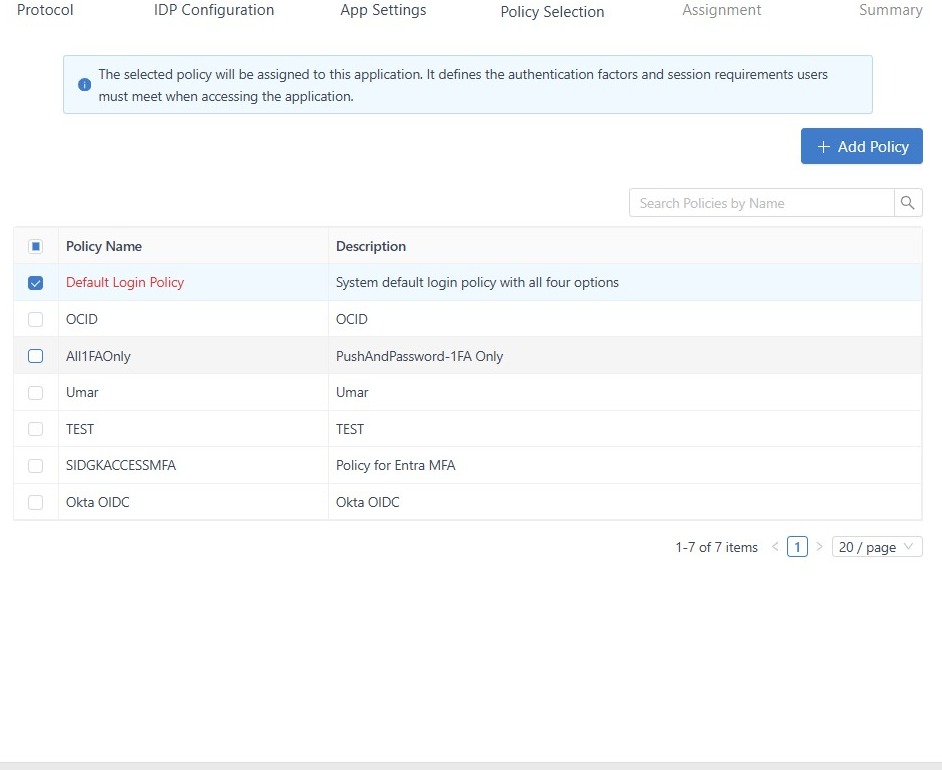
12. Select the 'Default Login Policy', then click 'Next'.
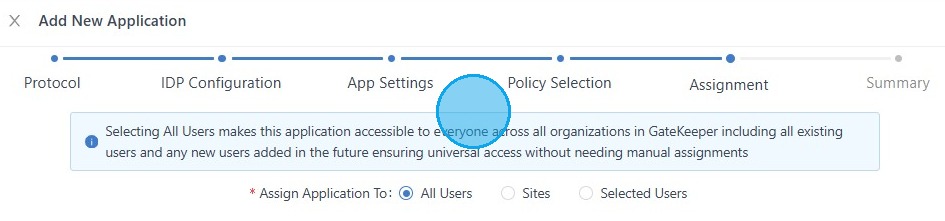
13. Select which group of users will follow this rule, and click "Next".
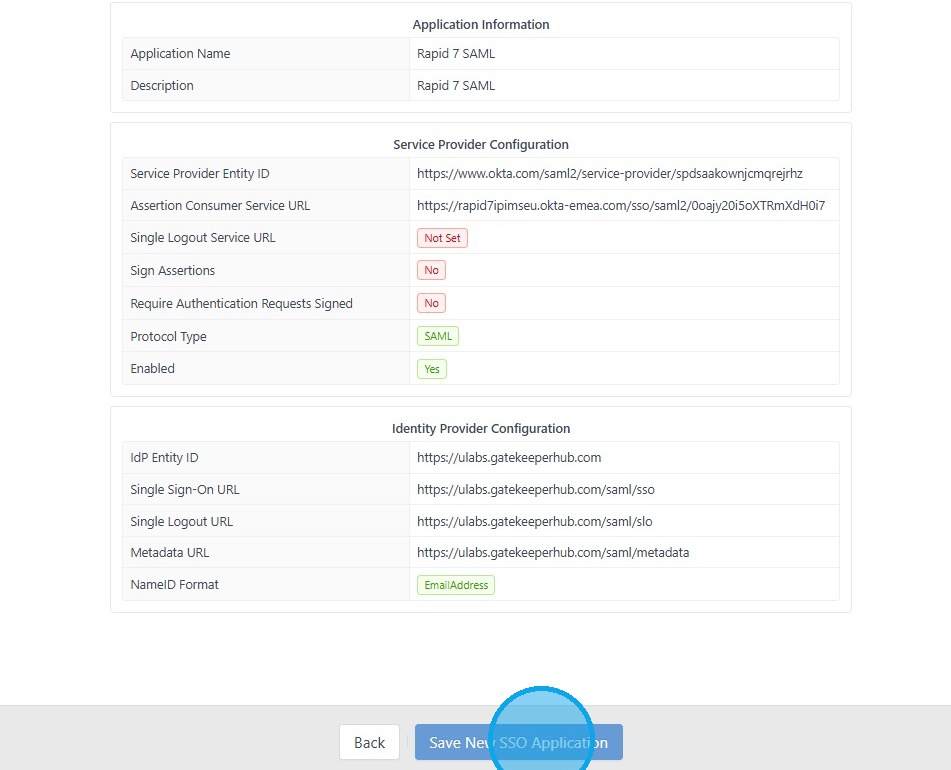
14. Double-check that all the information is correct, and click "Save New SSO Application".
15. Find the Rapid 7 SAML from the SSO list, click 'Edit' for the 'Rapid 7 SAML' application

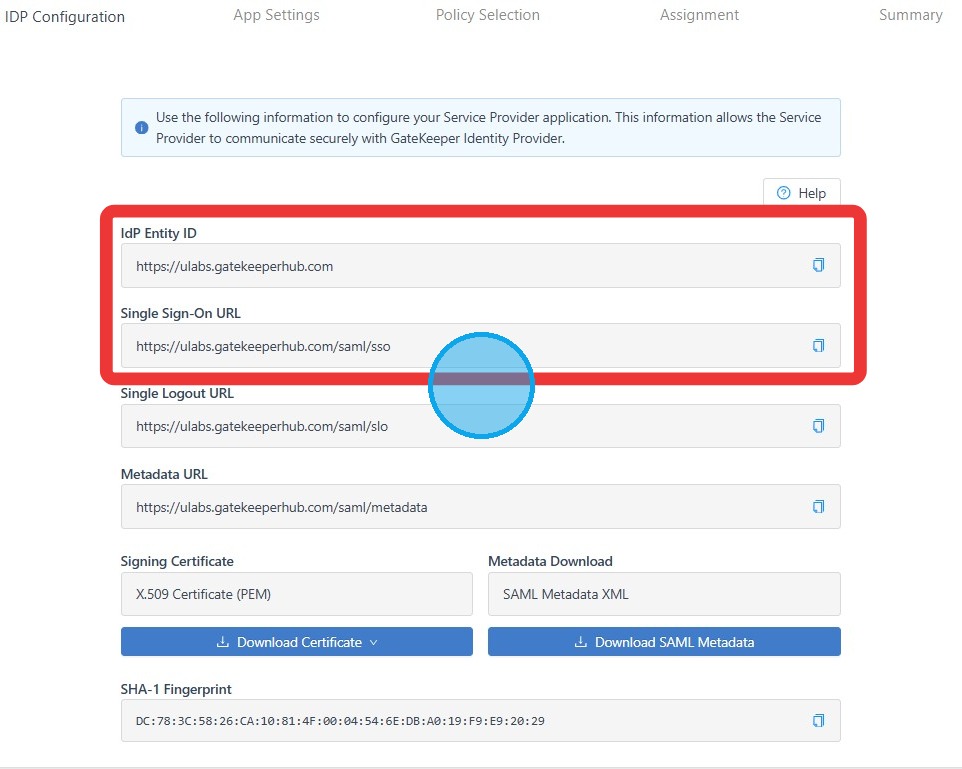
16. Copy these items.
- IdP Entity ID
- Single Sign-On URL
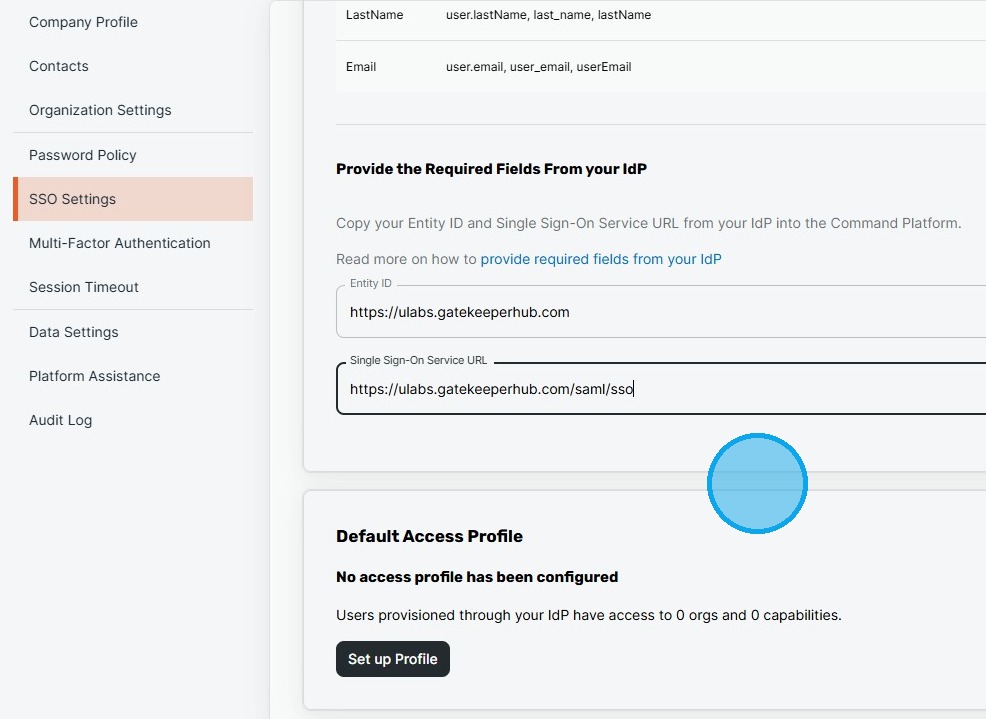
17. Go back to the RAPID 7 SSO settings and paste items in the proper section.
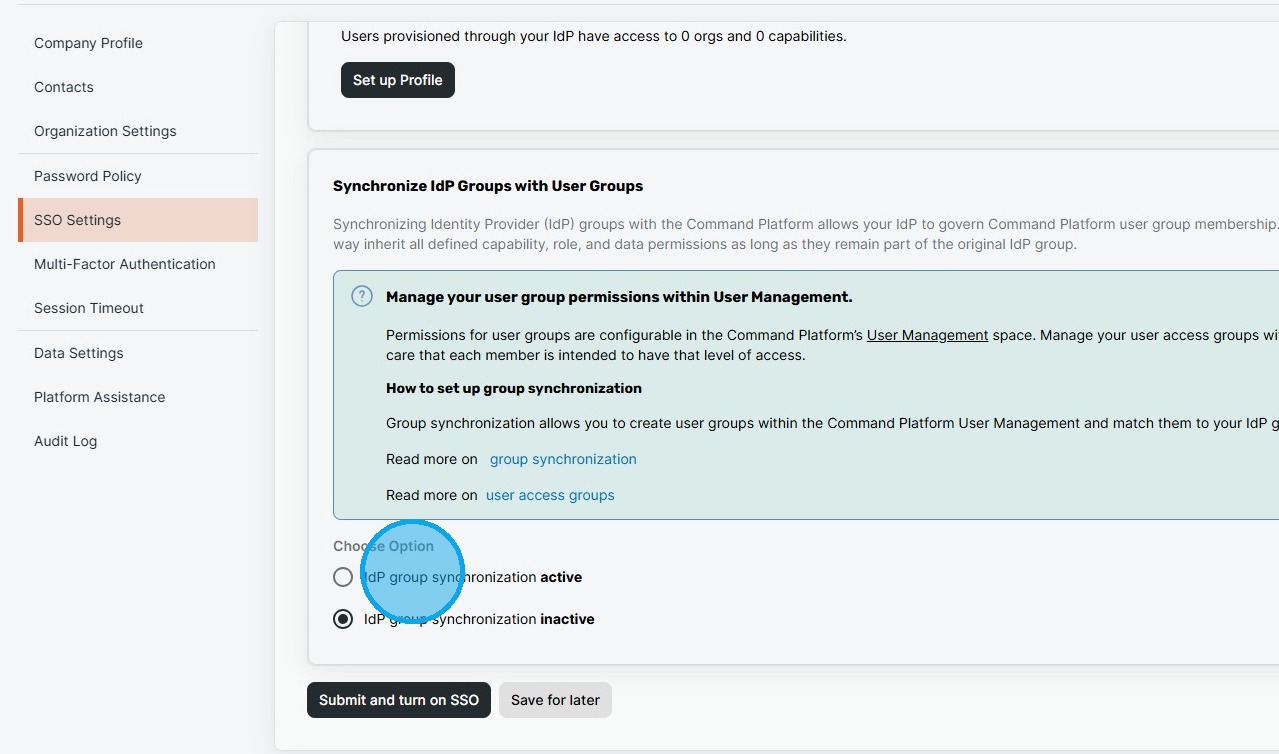
18. Select "IdP group synchronization active".
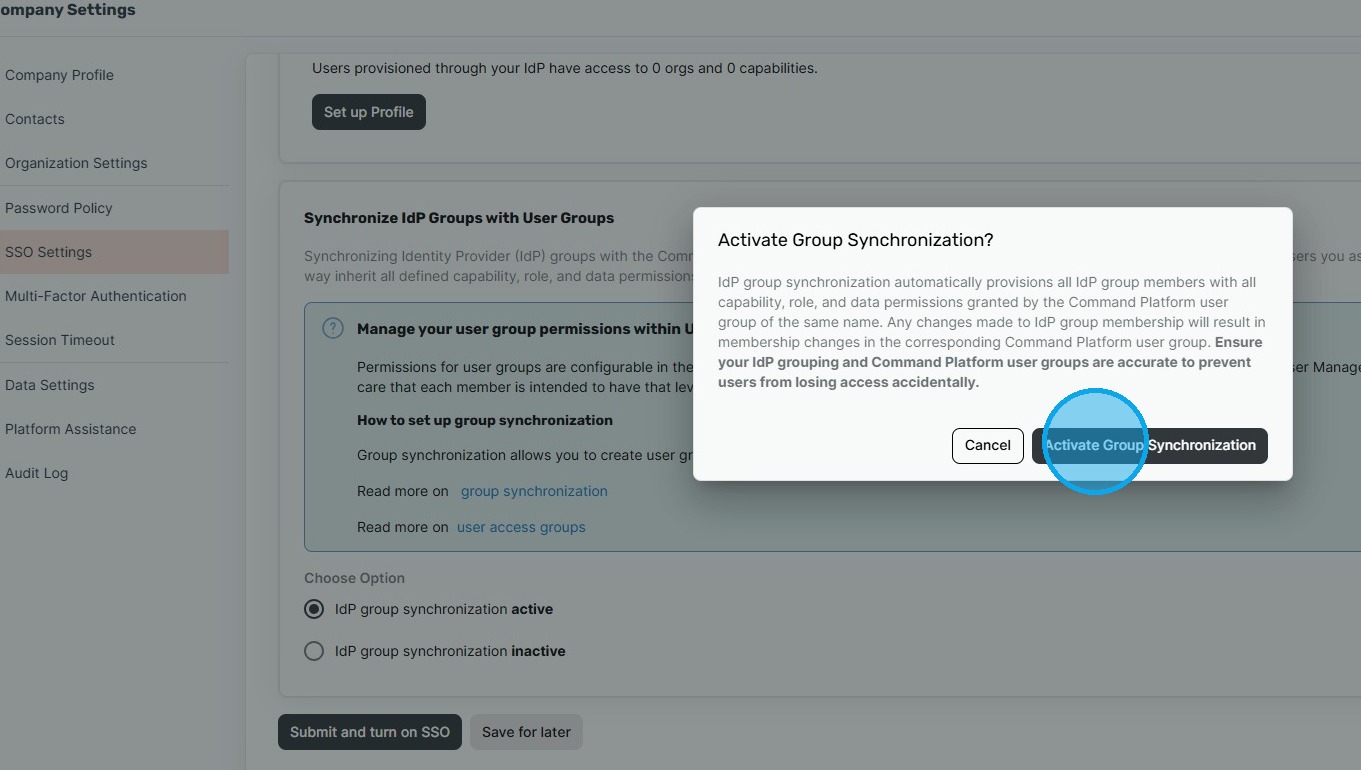
19. Click "Activate Group Synchronization".
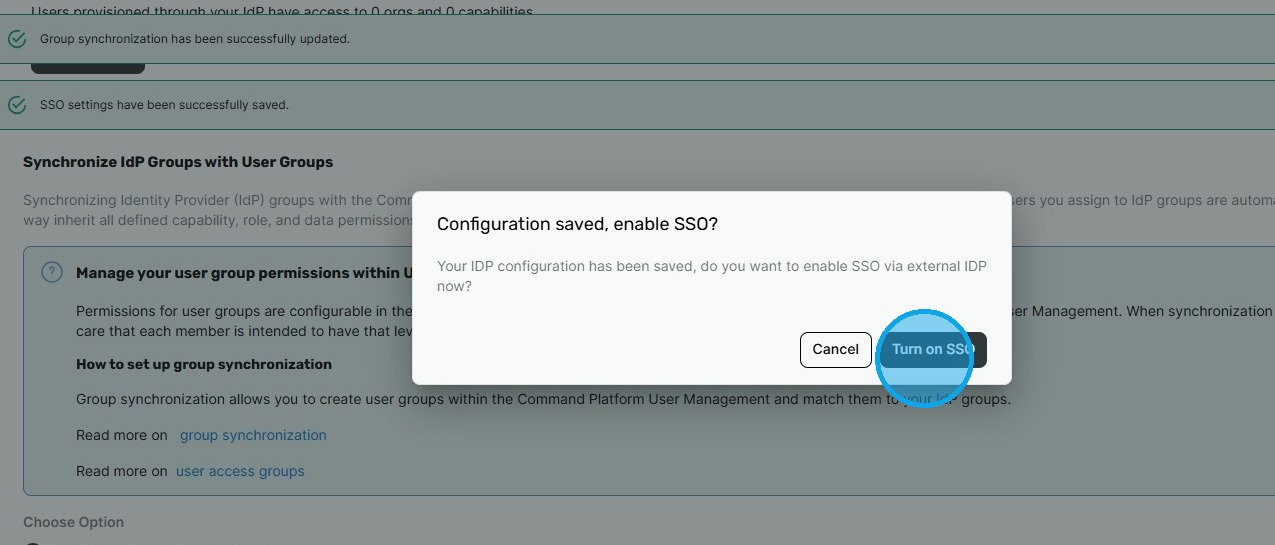
20. Click 'Submit and turn on SSO'.

21. Confirm by clicking 'Turn on SSO'.
For any additional questions or concerns regarding faster 2FA, proximity settings, computer locking, password management, or compliance, please contact GateKeeper Enterprise support using the Support Ticket form on https://gkaccess.com/support/ or email support@gkaccess.com.
Comments
0 comments
Article is closed for comments.