
This guide walks you through the process of setting up Single Sign-On (SSO) for your GateKeeper Hub application. Follow these steps to correctly generate certificates, configure identity provider settings, and finalize your integration for seamless authentication.
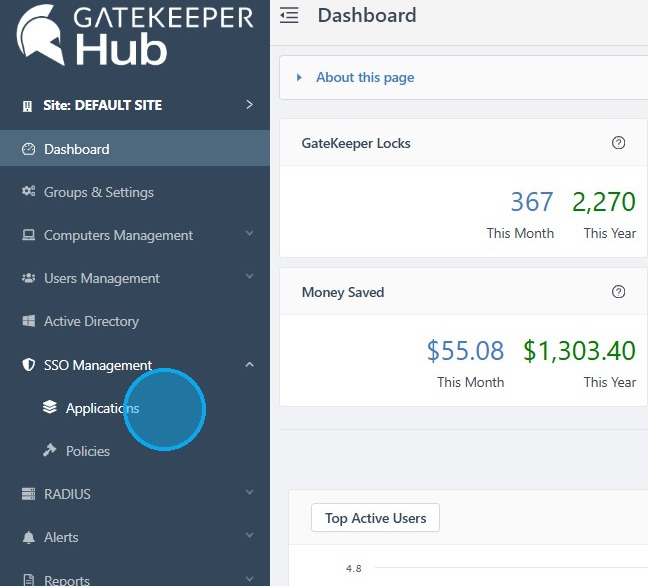
1. Log in to your GateKeeper Hub, click SSO Management, and click Applications.
2. Click '+ Add Application'.

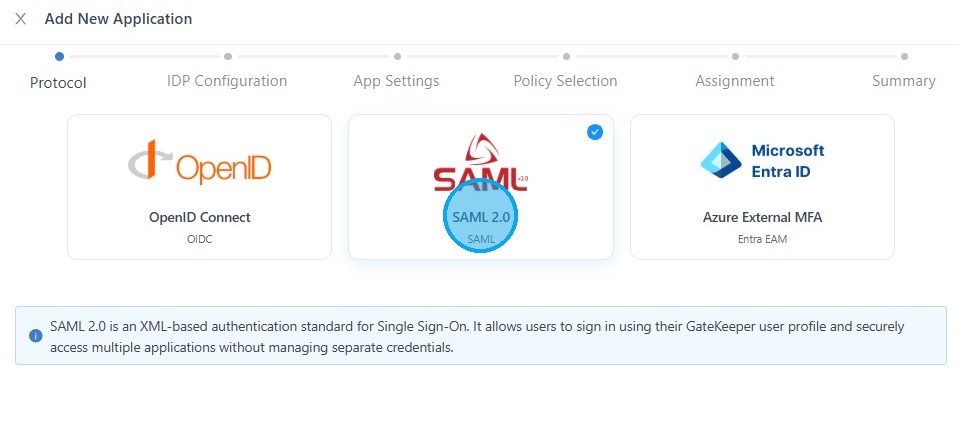
3. Select "SAML 2.0", then click "Next".
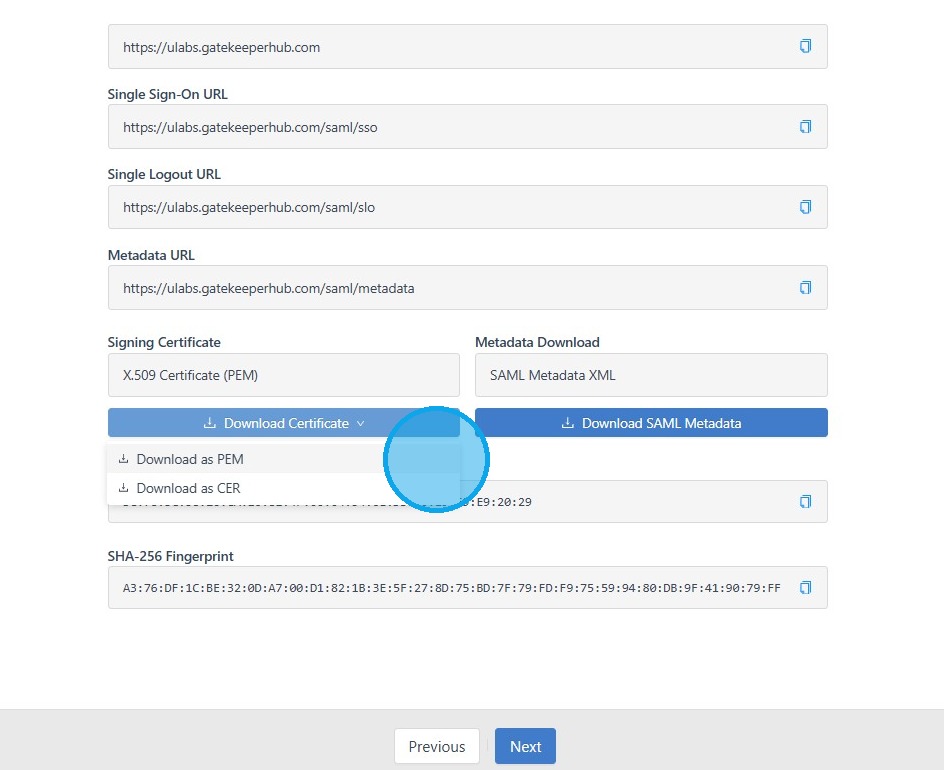
4. Click the Download Certificate button under X.509 Certificate. Select 'Download as PEM', then click "Next".
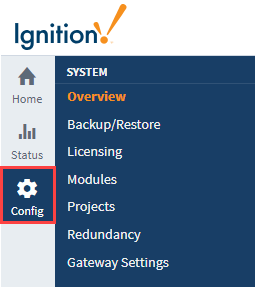
5. On the Gateway Webpage, click on the Config tab.
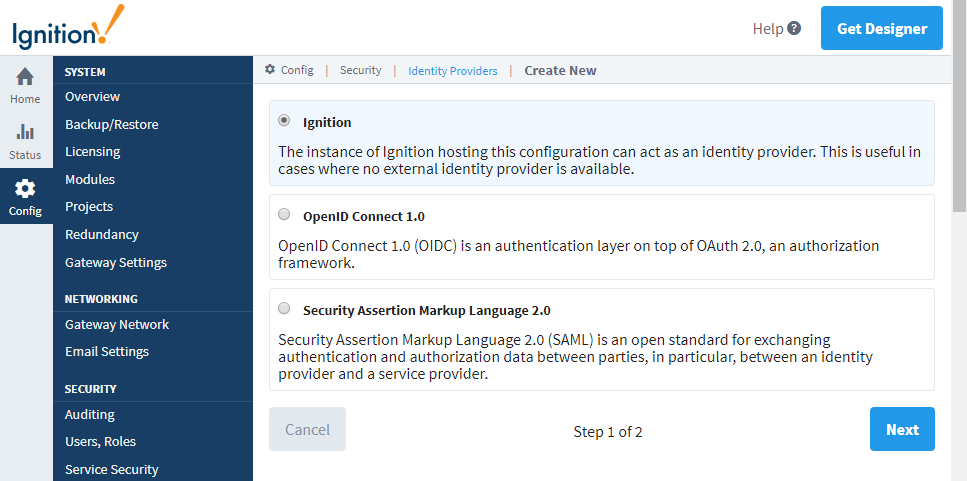
6. Under the Security section, click on Identity Providers. The Identity Providers screen is displayed. This screen will list all IdPs that have been configured. You can change the filter by name or adjust the number of IdPs displayed in the view. Click on Create New Identity Provider...
7. Choose the type of provider. The current options are Ignition, OpenID Connect 1.0, or Security Assertion Markup Language 2.0 (SAML). Select Security Assertion Markup Language 2.0 (SAML). Click the Next button.
8. Configure the adapter. This step varies based on the type of provider. Please see the reference tables below for a description of properties. Once you've filled in the properties, click Save.
This method is preferred because of its ease of use and accuracy. After importing, you will have the opportunity to revise the imported data if needed before saving.
| Property Name | Description |
|---|---|
| Import from URL | URL to the SAML Identity Provider Metadata document. |
| Import From File | File must be an XML document which conforms to the SAML 2.0 metadata schema described in saml-metadata-2.0-os. |
The SAML Service Provider (SP) metadata for an Ignition Gateway may be accessed at the following URL: http://<ipaddress>:<port>/data/saml/metadata/sp.
The Assertion Consumer Service (ACS) URL for this Ignition Gateway is: http://<ipaddress>:<port>/data/federate/callback/saml
Both of these addresses assume you know the IP Address and port of your Ignition install. For example, if you are on the computer on which Ignition is installed, you could use: http://localhost:8088/data/saml/metadata/sp for the SP metadata.
Configuring the Provider
| Property Name | Description |
|---|---|
| IdP Entity ID | The Identity Provider's Entity ID. |
| SP Entity ID |
The Service Provider's Entity ID. In this case, the Service Provider is the current Ignition Gateway.
By default, the Identity Provider will automatically generate the SP Entity ID based on the hostname that the client uses to connect to this Gateway. You may opt out of this setting and input a different SP Entity ID for the Gateway. |
| Assertion Consumer Service (ACS) Binding | The expected binding used by the Identity Provider when interacting with Ignition's Assertion Consumer Service. |
| Name ID Format | The expected name ID format for subjects of assertions resulting from Authn Requests. Options are UNSPECIFIED, EMAIL_ADDRESS, X509_SUBJECT_NAME, WINDOWS_DOMAIN_QUALIFIED_NAME, KERBEROS_PRINCIPAL_NAME, ENTITY_IDENTIFIER, PERSISTENT_IDENTIFIER, TRANSIENT_IDENTIFIER. |
| Single Sign-On (SSO) Service URL | The Identity Provider's Single Sign-On (SSO) Service URL. |
| Single Sign-On (SSO) Service Binding | The binding Ignition will use for sending Authn Requests to the Identity Provider's Single Sign-On (SSO) Service. |
| Force Authn | Check this box to force complying Identity Providers to authenticate the user each time instead of relying on a previous security context. See section 3.4.1 of saml-core-2.0-os for more details. |
| Validate Response Signatures | Check this box to validate the signature of the response from the Identity Provider. |
| Validate Assertion Signatures | Check this box if it is expected that assertions will be signed. Ignition will validate the signatures of each assertion. |
| IdP Metadata URL |
New in 8.1.16
URL to the SAML Identity Provider Metadata document.
If Use IdP Metadata URL is checked, the identity provider's signature-verification keys and certificates will be automatically downloaded from the given metadata URL. New keys and certificates will be automatically fetched when the identity provider generates them. If unchecked, then the static set of keys and certificates (configured below) is used, so when the identity provider rotates them, they must be manually added to this configuration. |
| Signature Verifying Keys | A list of signing key(s) that Ignition uses to validate signatures from the IdP. |
| Signature Verifying Certificates | A base64-encoded DER PKIX certificate value. |
9. Go back to the GateKeeper Hub and fill out all the information.
- Application Name
- Description
- Service Provider Entity ID
- Assertion Consumer Service URL
Click Next
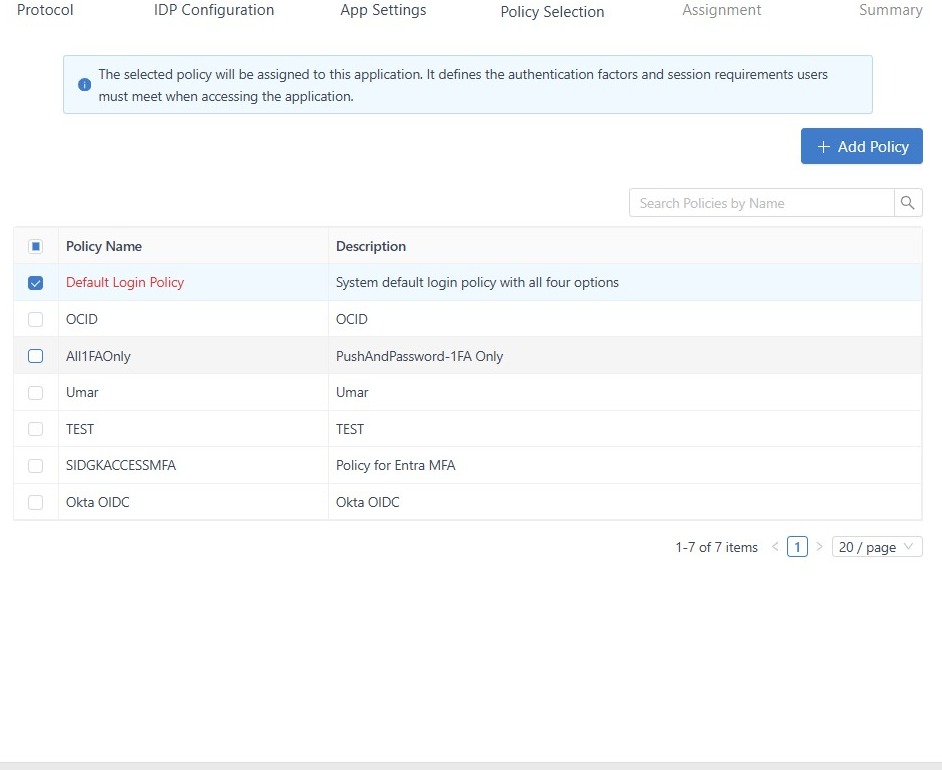
10. Select the 'Default Login Policy', then click 'Next'.
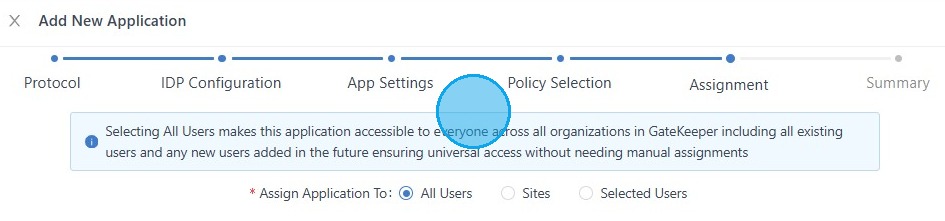
11. Select which group of users will follow this rule, and click "Next".
12. Double-check that all the information is correct, and click "Save New SSO Application".
13. Now, go back to Ignition and click login in the top right corner. Log in with your GateKeeper credentials to activate SSO
For any additional questions or concerns regarding faster 2FA, proximity settings, computer locking, password management, or compliance, please contact GateKeeper Enterprise support using the Support Ticket form on https://gkaccess.com/support/ or email support@gkaccess.com.
Comments
0 comments
Article is closed for comments.