
This guide walks you through the process of setting up Single Sign-On (SSO) for your GateKeeper Hub application. Follow these steps to correctly generate certificates, configure identity provider settings, and finalize your integration for seamless authentication.
Add your SSO login domain
- Log in to your Canva account.
- On the homepage, select your account profile to open the menu.
- Choose Settings.
- From the side menu, click the SSO and provisioning tab.
- Under Domain verification, enter your team’s domain.
- Click Submit domain. You will then be provided with a DNS token.
- Create a TXT record of the DNS token using your domain host. Help from your IT team might be needed for this step.
- On the SSO & Provisioning page, click the Single sign-on (SSO) tab, then click Set up SSO.
- If you’re not on an Enterprise or other eligible plan, you might not see this tab, or you might be prompted to upgrade to access the SSO setup.
Add Canva to GateKeeper
1. Log in to your GateKeeper Hub, click SSO Management, and click Applications.
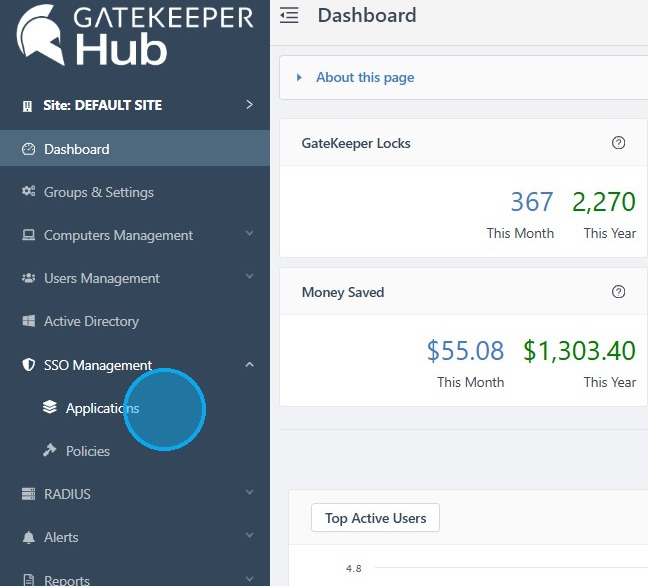
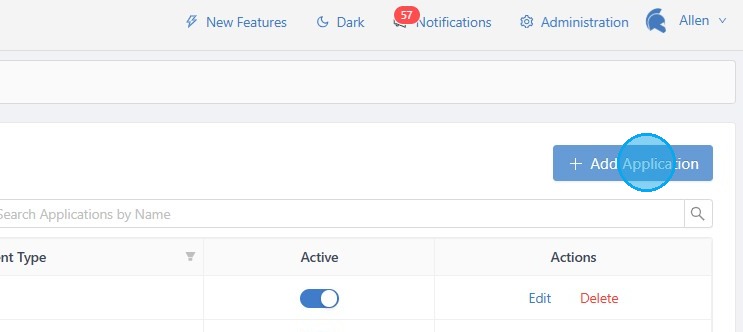
2. Click + Add Application.
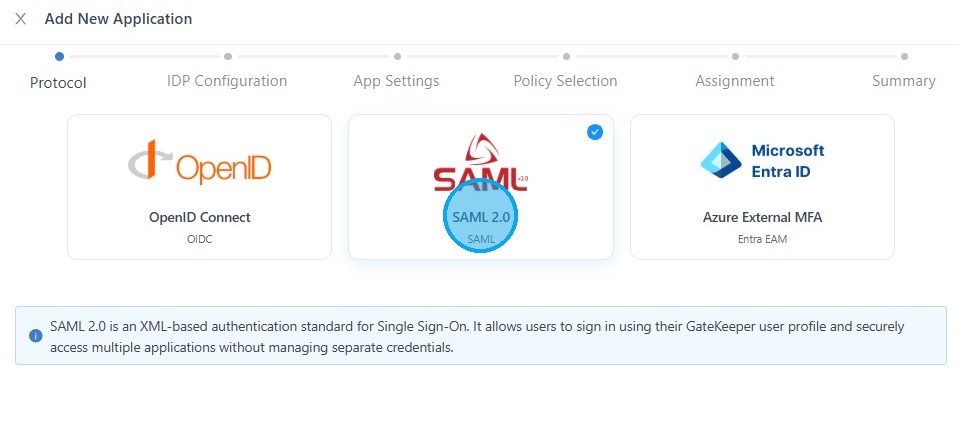
3. Select SAML 2.0, then click Next.
4. Copy the following:
- Single Sign-On (SSO) URL
- IdP Entity ID
- X.509 Signing Certificate (click Download Certificate > Copy Certificate)
Then click Next
5. In the SSO and provisioning tab in Canva.
- Click Single sign-on (SSO) > Manage > Edit IdP metadata.
- Enter your identity provider’s details in the three fields:
- SSO or login URL: Paste the SSO URL.
- Entity ID or Issuer URL: Paste the IdP Entity ID.
- X.509 Public Certificate: Paste all of the contents from your Certificate.
6. Click Save and Next.
7. Go back to the GateKeeper Hub and fill out all the information.
Use these details to add Canva to GateKeeper:
- Application Name: Canva SAML
- Description: Canva SAML
- Service Provider Entity ID: https://www.canva.com
- Assertion Consumer Service URL: https://www.canva.com/login/saml
Click Next
8. Select Default Login Policy, then click Next.
9. Select which group of users will follow this rule, and click Next.
10. Double-check that all the information is correct, and click Save New SSO Application.
Test your SSO login experience
There are two easy ways to test your SSO setup:
If you're still on the Set up SSO page, scroll to the Test your SSO connection section and click Test SSO. If you're starting from the Canva homepage instead:
- On the homepage, select your account profile to open the menu.
- Choose Settings.
- From the side menu, click the SSO and provisioning tab.
- Under Single Sign-On (SSO) > Manage > Test SSO.
This lets you quickly check if everything’s working without logging out.
- Before logging out, go to the SSO and provisioning tab.
- Click Single sign-on (SSO) > Manage > Configure SSO settings.
- Set the login option to Optional for everyone.
- Log out of your Canva account.
- On the login page, click Continue with email, then select Log in with SSO.
If you’re taken to your team’s page after logging in, you successfully set up SSO! If you get an error, check our Troubleshooting SSO errors article for help.
Quick tip: Using both methods can give you extra peace of mind that everything’s set up right.
Choose how you want people to log in to your SSO-managed team(s).
- From the homepage, select your account profile to open the menu.
- Choose Settings > SSO and provisioning.
- Click Single sign-on (SSO) > Manage > Configure SSO settings.
- Select one of the login options. Learn more about each option in Setting up login and signup controls.
- Click Save changes.
For any additional questions or concerns regarding faster 2FA, proximity settings, computer locking, password management, or compliance, please contact GateKeeper Enterprise support using the Support Ticket form on https://gkaccess.com/support/ or email support@gkaccess.com.
Comments
0 comments
Article is closed for comments.